St. Martin: Flopper Stopper Pole Installation, May/June, 2010

Click on the above thumbnail for a map during this time period
At-Anchor Stabilization
By the time we had reached Puerto Rico in early 2007 in our voyage south, it was
apparent that some type of at-anchor stabilization was highly desirable in the
Caribbean. We purchased two flopper-stoppers (FS) from Prime
Fabrication, but temporized on getting the associated poles. We
hoped that hanging one from the boom would usually be enough, and hoped that
when it wasn't, that hanging the other from the power davit would suffice. The power davit never really worked for us. It did give minimal additional
roll dampening, but it reached out even less far than the boom, and there were
no means for keeping the davit from rotating at its base save awkward, ugly, and
ineffective use of ropes. We soon abandoned using the davit, and
contented ourselves with using the boom. We knew that the boom is
too short to be maximally effective with FSs, and we knew that one FS was not as
good as two. But we balked at the presumed expense of shipping two
poles from the USA to the Caribbean. And then, while in Trinidad
during the hurricane season of 2008, we had to replace our Trojan L16HC
batteries, and discovered that freight from the USA to Trinidad via Tropical
Shipping was really quite reasonable. But we continued to temporize
on the FS poles. Finally, after some particularly rolly nights on
the way north in the Spring of 2010, we decided to purchase the poles from Prime
Fabrication and have them shipped to St. Martin.
We were not quite sure where to mount the poles to the boat. We knew
that several Krogen 58s had mounted on the side of the upper deck. That
was appealing, because it would mean that the poles could be left attached and
swung back and locked along the side of the upper deck when not engaged. We sought the advice of Krogen, and were told that on the 48 North Seas (our
vessel) there should probably be mounting plates behind the attachment point. We had hoped to do all of the work ourselves, and we didn't see how we could
install the plates, and we expected that the costs for professional installation
would be prohibitive. We contacted Paul and Julia on Coral Bay, who we
knew had poles installed on their rub rails. Paul gave very useful
descriptions and advice, and I was able to create a detailed specification for
Prime Fabrication concerning L-shaped mounting plates for the rub rails.
One side of the L fits down on the rub rail and the other fits up against the
outside of the hull. The positioning of the knuckle on the plate was
critical: when in upright stowed position it should not position the pole
outside of the rub rail (lest it get scraped by a dock or piling) but it should
be out as far as possible in order to clear the protruding cap rail above the
rub rail without getting too far away from the upper deck and/or upper rail,
where it would be secured by a chock manufactured and supplied by Prime
Fabrication). Here is a
pdf
of the mounting plate that Prime Fabrication manufactured to my specifications.
While we waited for the poles, plates, knuckles and chocks to arrive, we had
plenty to do. And plenty of help too, since Hunter (Arctic Tern)
was also in St. Martin, working on projects of his own, providing massive
amounts of assistance to me, and also waiting for us so we could cruise to Bonaire
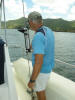
together. The first order of business was to tighten the shrouds
that provide lateral support for the mast. They were quite loose.
Hunter had a device for measuring the tension, and the shrouds were initially so
loose as to be off the scale. We tightened them to 1300 lbs., and
later backed that off to 1000 lbs. on the advice of Krogen. Next, we
installed folding steps on the mast in such a position as to facilitate access
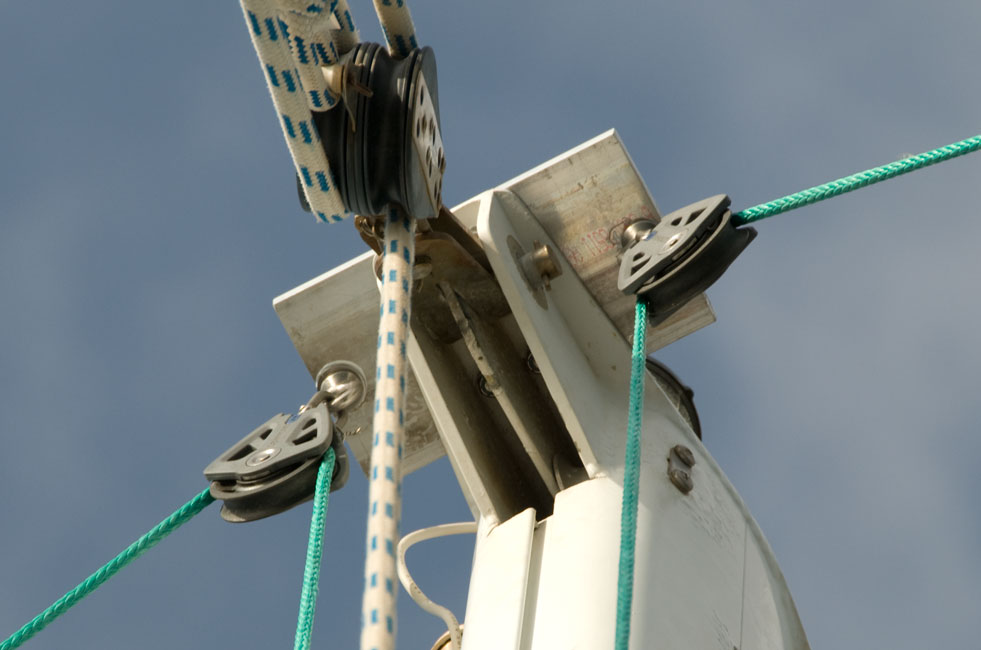
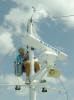
to the top of the mast. Then, using the new steps, I could survey
the top of the mast and consider how best to attach the blocks that would be
used to raise and lower the FS poles. I designed an aluminum plate,
had it manufactured at FKG rigging, attached it to the top of the mast, and
attached the new blocks to the plate. When the hardware arrived from
Prime Fabrication, Rene (Gypsy Blues) -- then working at Island Water World --
was kind enough to let us use IWW as receivers, so that we didn't have to try to
solve the problem of getting a 13' heavy package transported from Philipsburg to
Simpson Bay Lagoon. We installed the mounting plates on the rub
rails and waited a day for things to dry a bit. Installed a pole and
raised it to the upright stowing position, to see how far away it was from the
upper deck and the upper rail. Too far to reach the chock if it was
mounted directly to the side of the deck. Hmmm. How to
mount the chock to the 1 1/4" rail? None of the chandleries have
clamps for rails larger than 1". Hmmm. We have fishing
rod holders attached to the lower rails, which are also 1 1/4" rails. Wonder how far the rod holder would stick out if it were reversed and configured
perpendicular to the rail? Holy cow, they almost reach out to
the position of the upright pole and they can be removed if that ever was
desirable. Off we go to FKG, and commission
SS plates to be welded onto the end of the rod holders, said plates to receive
the chocks. While waiting for those, I cut some spacers of
starboard, since the modified holder with chock attached would still be just a
bit too short.
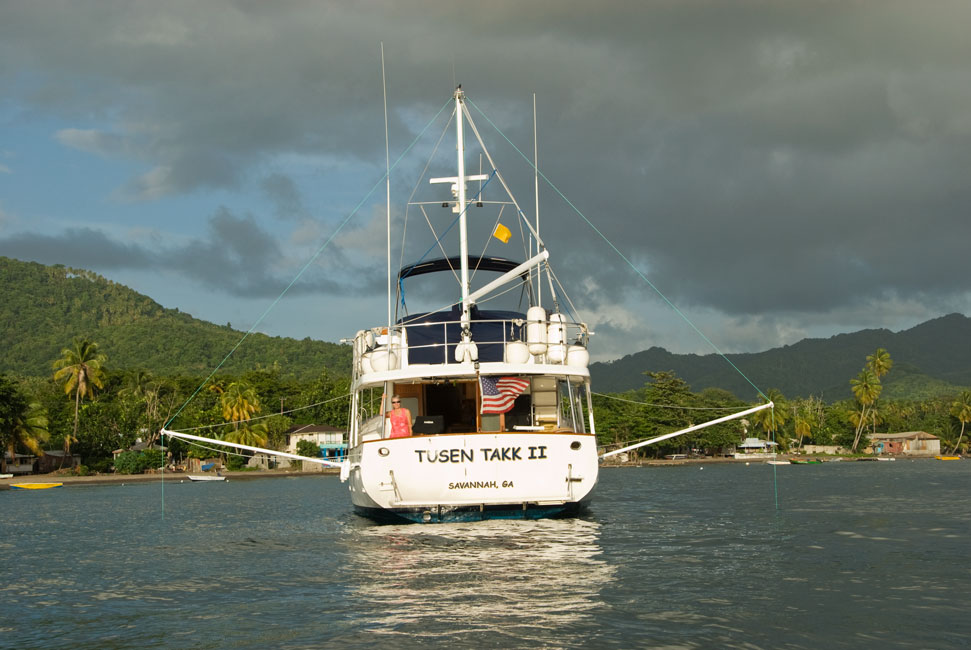
As this is written we have employed the new FS/pole installation just once on a
very rolly night at Portsmouth, Dominica. The degree of roll
dampening is gratifying and impressive. But the poles vibrate when
the FSs "bite in" as they open, and the hollow poles combined with the
knuckle/bracket is quite noisy. Also, with the supplied lines used
for raising/lowering the poles, the poles will be very hard to raise when the FSs are still in the water. The lines are too small, and dig into my
hands, and the pull on the lines in rough water is daunting.
Adjustments will have to be made, but the basic installation is sound, we
believe. (See below for subsequent modifications.)
|
|
|
|
Measuring the tension in the mast shrouds
|
|

|
|
Hunter tightening a shroud
|
|
|
|
Installing folding steps on the mast
|
|
|
|
Aluminum plate that we added to attach at the top of mast the blocks for raising/lowering the poles
|
|

|
|
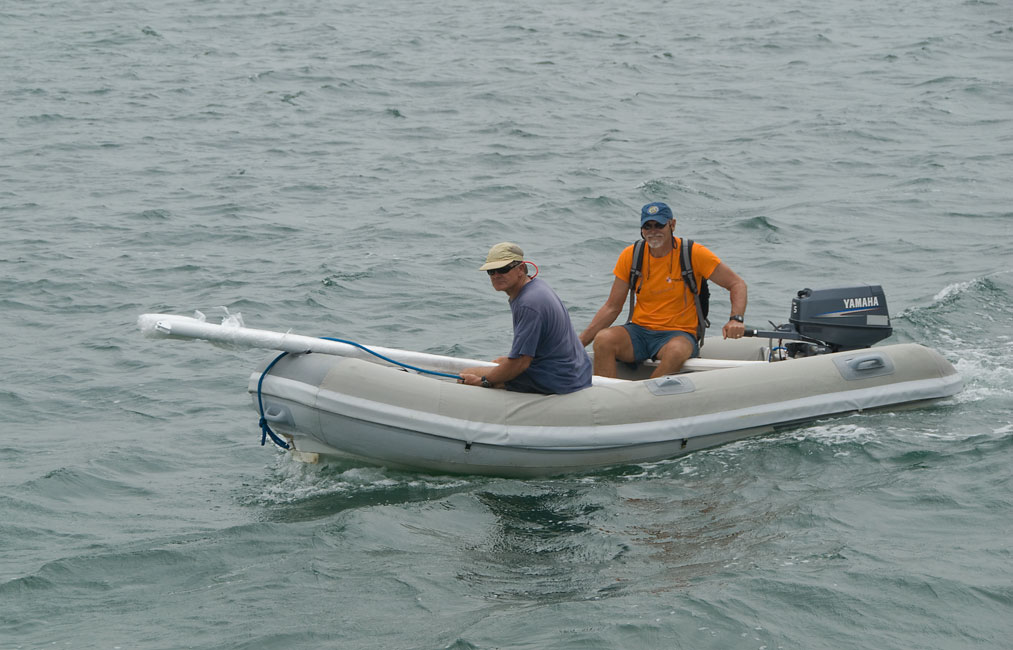
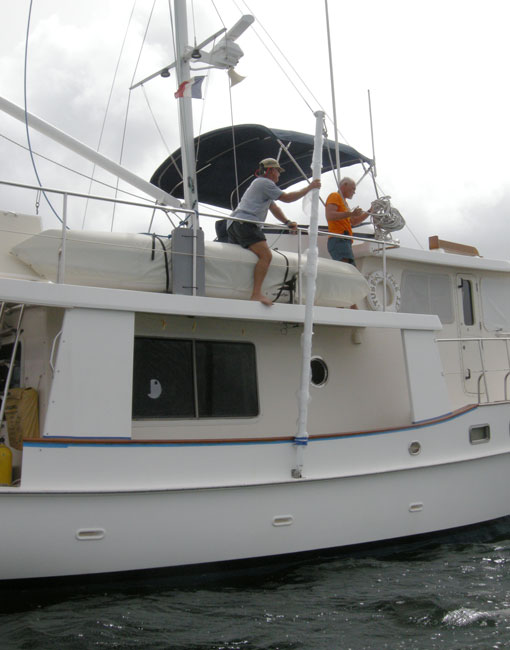
Bringing the poles to the boat
|
|
|
|
|
|
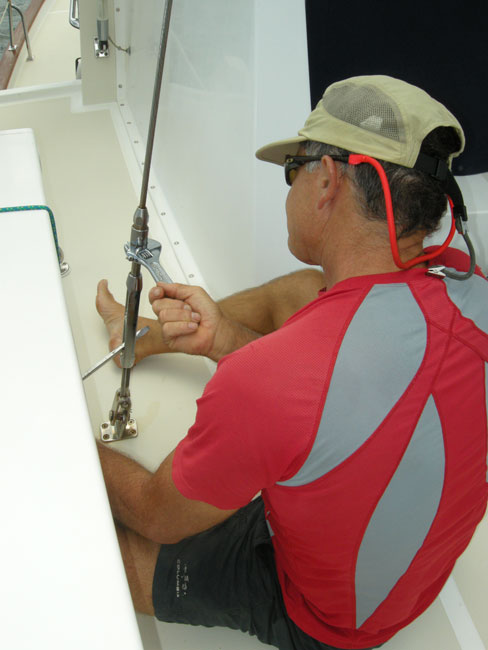
Installing the mounting bracket
|
|
|
|
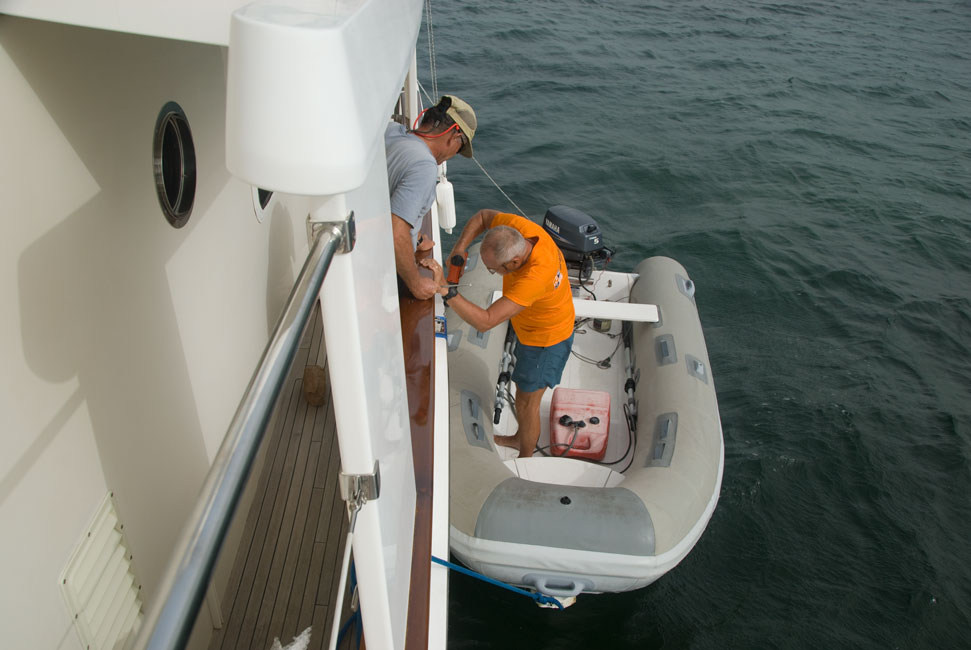
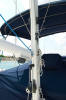
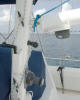
Installing pole and its various lines
|
|

|
|
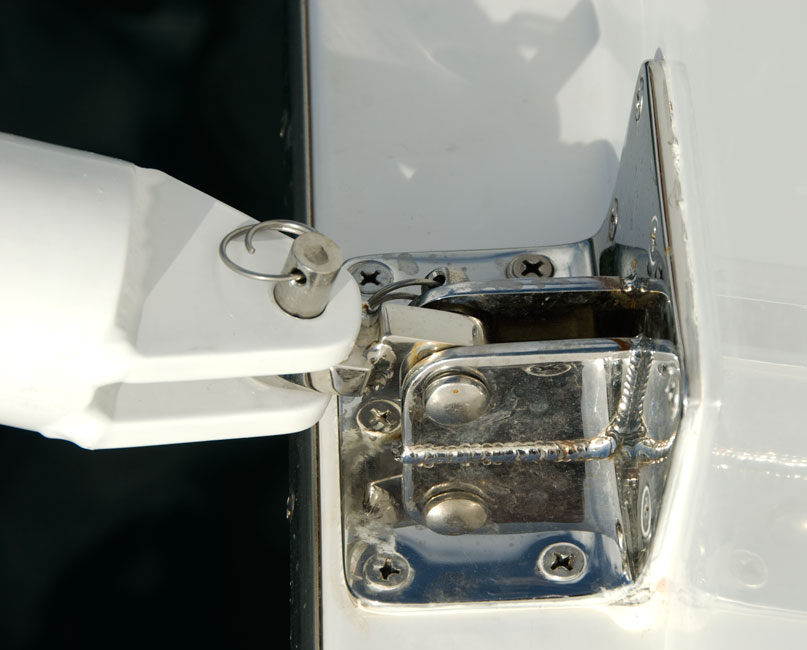
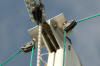
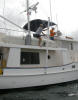
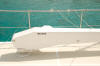
Upper side view of mounting bracket and knuckle
|
|

|
|
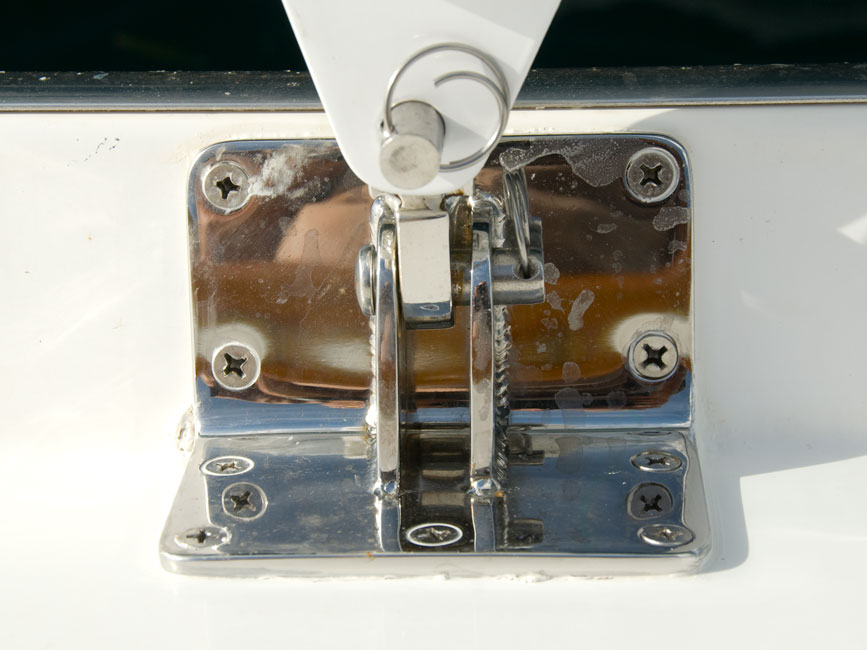
Looking down on the bracket and knuckle
|
|
|
|
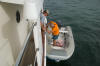
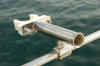
Chock attched to upper rail for securing pole in raised (un-engaged) position
|
|
|
|

|
|
Another view of a chock, a pole, and a flopper stopper
|
|
|
|
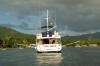
Employing the new flopper-stopper arms at Portsmouth, Dominica
|
|
|
|
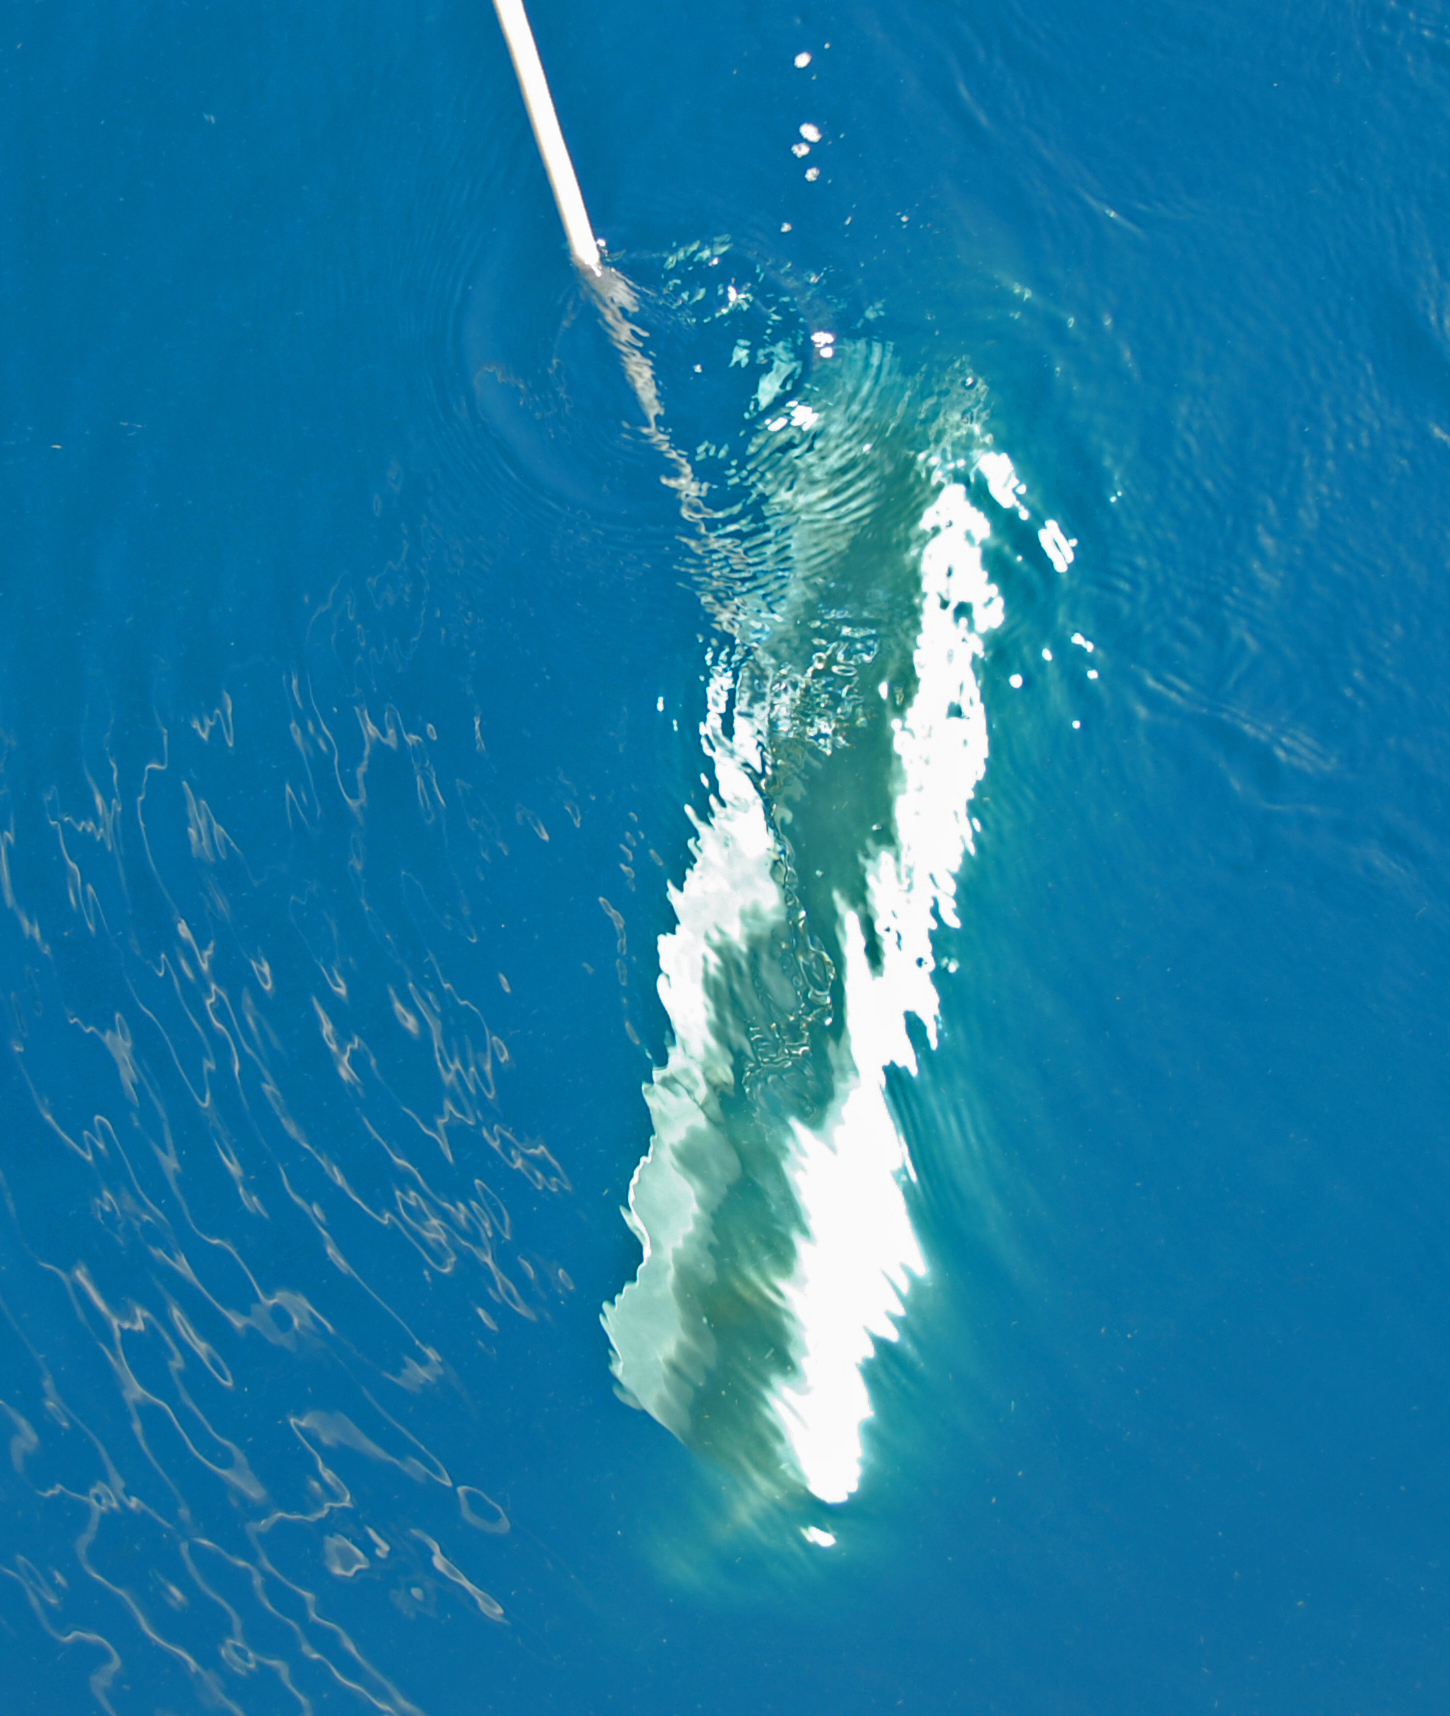
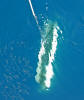
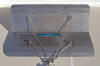
Submerged flopper in closed (falling) position
|
|
|
|
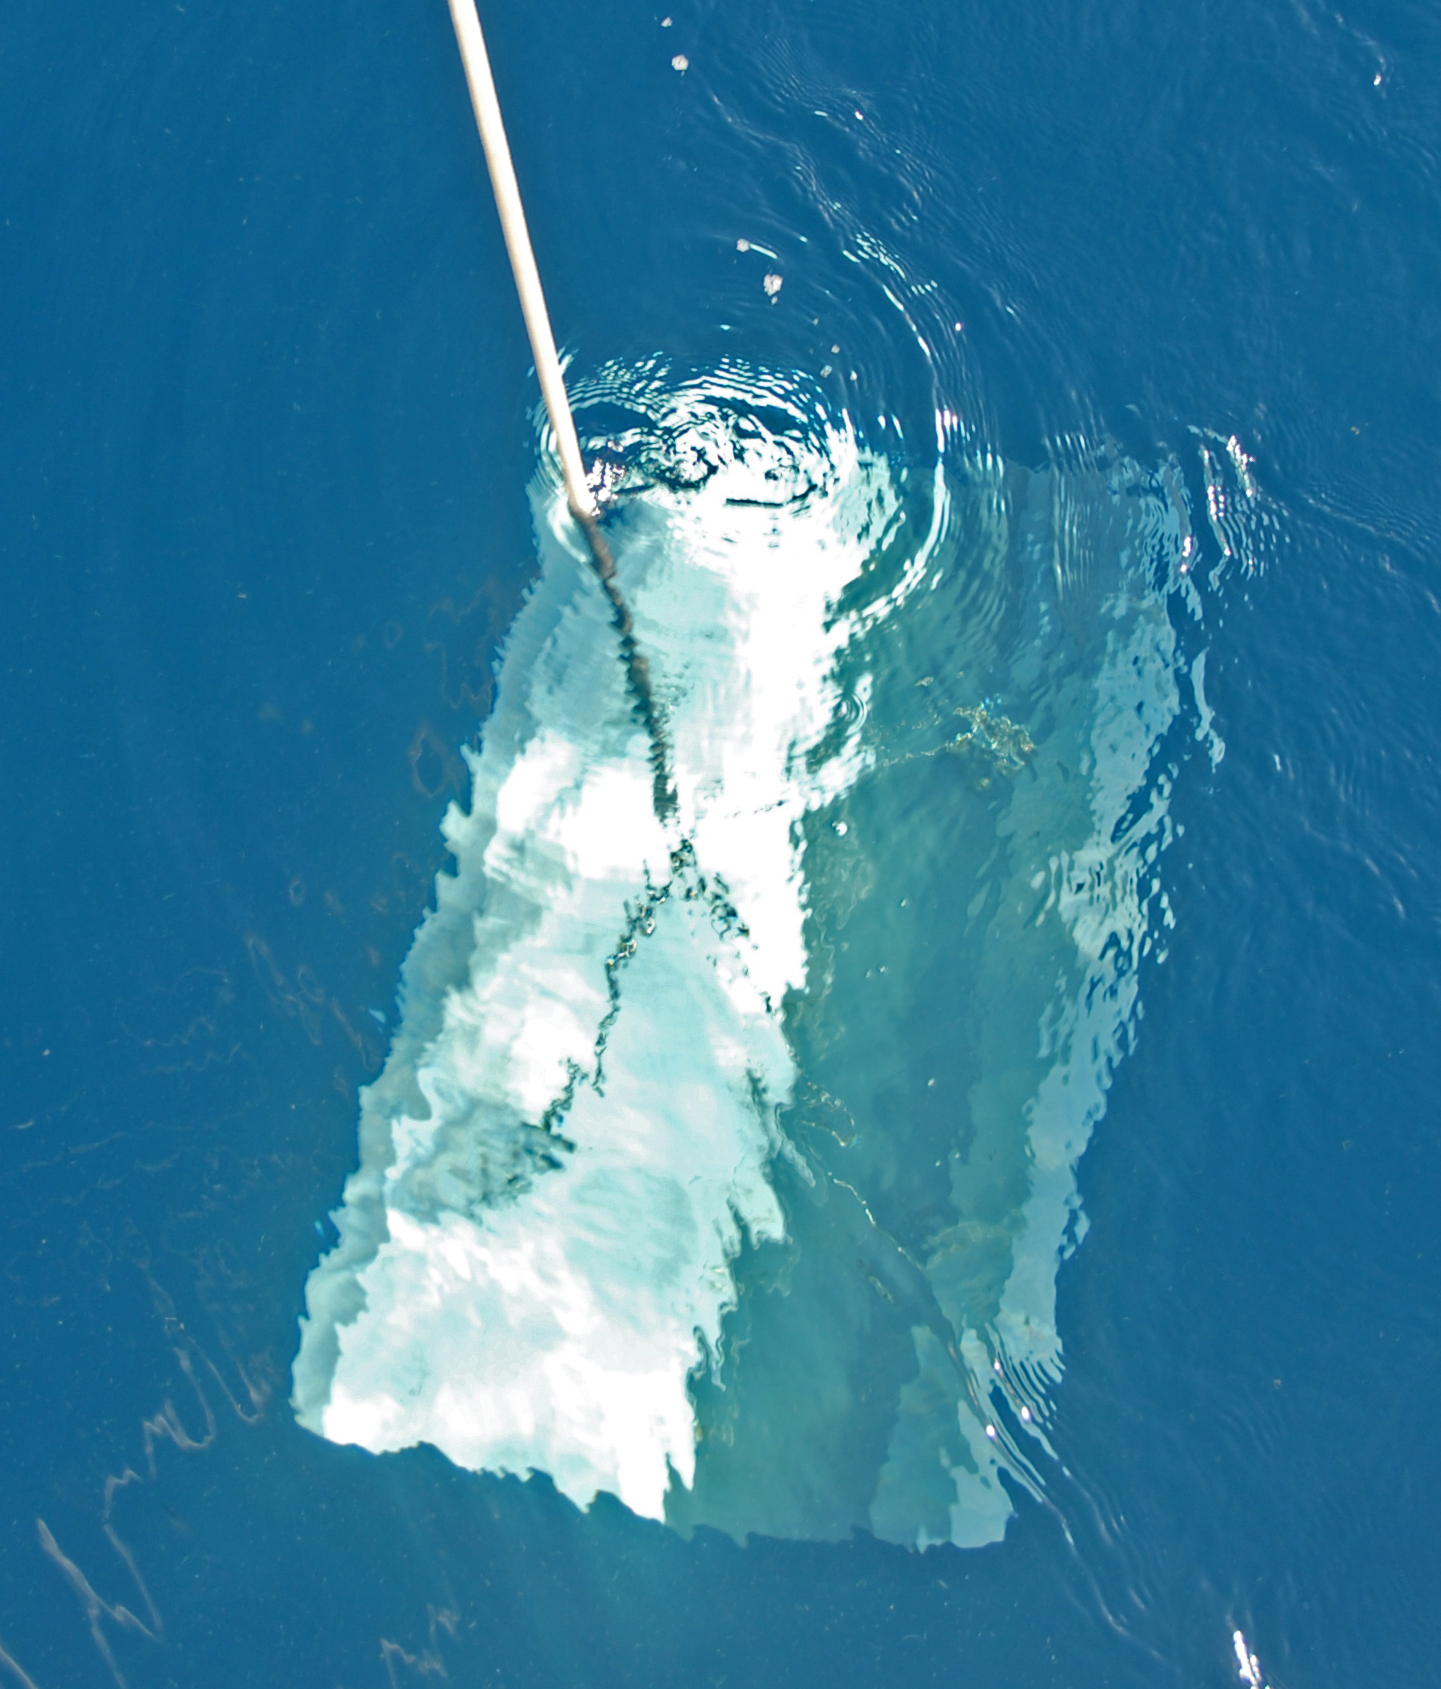
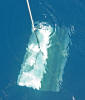
Submerged flopper in open (rising) position -- resisting the rise
|
|
|
|
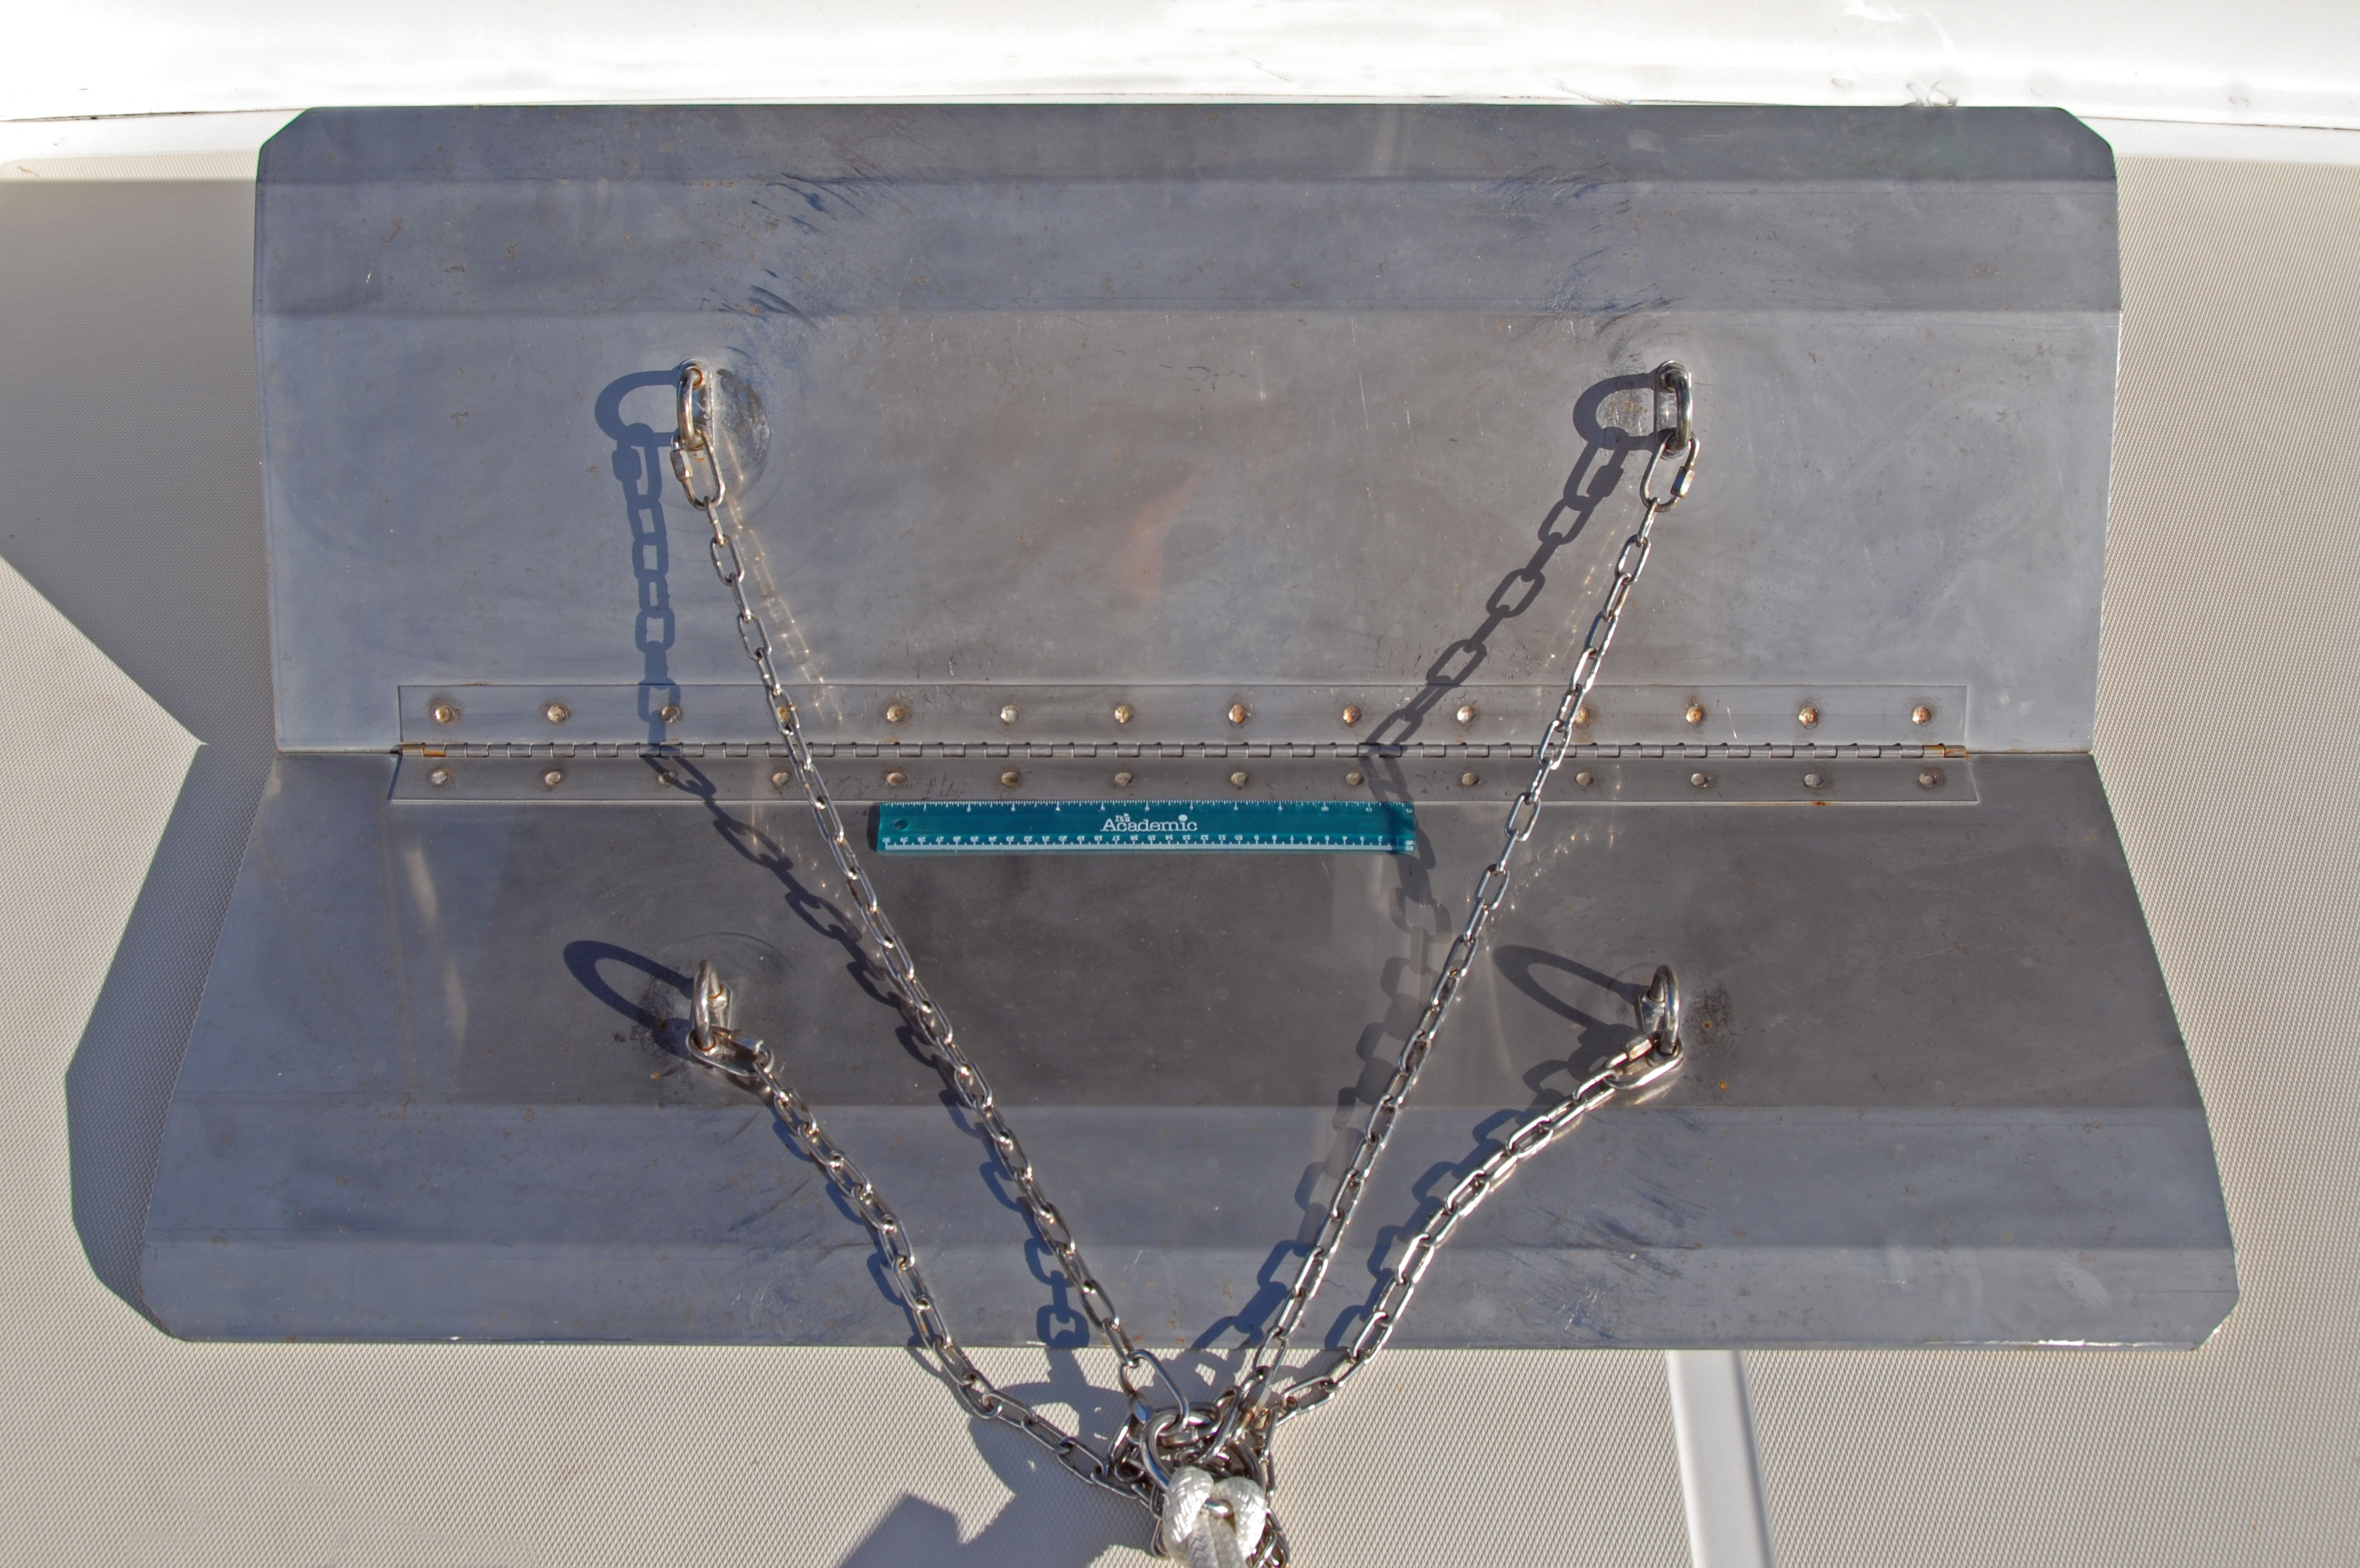
A closer look at a flopper at open position -- note ruler for scale
|
|
|
Revisions and Additions to the flopper-stopper system (written 9/29/2010)
First, a bit of history. When we bought the boat in 2005 (second
owner), the line that raises the boom was inside the mast. It came
out near the bottom of the mast, and below that point there was a cleat.
In 2007 when the winch in the davit began sounding "sick", we replaced the power
winch and also installed a hand winch at the bottom of the mast. The idea
was to have a backup in case the power winch ever failed. This
modification required that the line be moved from inside the mast to the
outside. We soon realized that using the hand winch to raise the
dinghy into position on its deck stand required moving back and forth a number
of times between raising the end of the boom and shortening/lenghthening the
line hanging from the boom. The dinghy weighed too much to remove a line
from a cleat and attach it to the hand winch we had installed. The
solution was to add rope clutches that would secure the two weight-bearing lines
so that one or the other could be attached to the hand winch. The
resulting system works well; for security we use the hand winch to lift the
dinghy up out of the water up to the rub rail each night.
Those unable to learn history's lessons are doomed to repeat its mistakes.
When I installed the flopper stopper poles, I initially only had installed
cleats to secure at the base of the mast the lines that raise/lower the poles.
I hoped to be able to transfer such a line from the cleat to the winch by just
grasping the line. But the 1/4" spectra lines were too thin and
slippery to grasp and it turned out to be almost impossible, and dangerous at
that. With the FS down, the line was periodically tightened so much
that it was not safe to have fingers between it and the mast. I
replaced the spectra lines with 10mm woven line, and although this proved to be
much easier to handle, it was still dangerous and difficult. The solution,
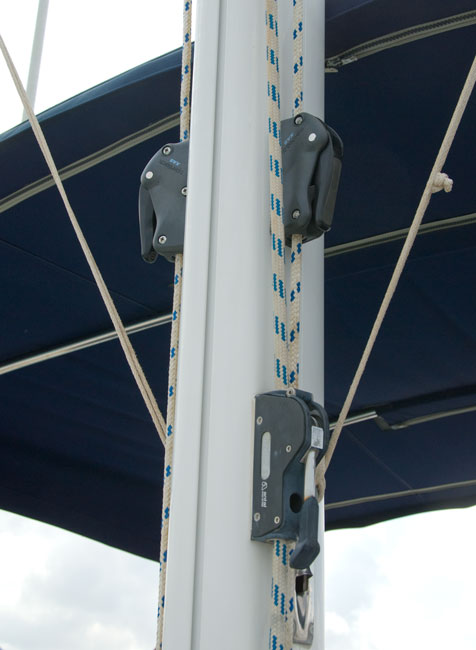
of course, was to install a set of rope clutches for the FS poles.
The resulting system, while not as elegant as it would have been if all clutch
needs had been anticipated at the time of the installation of the hand winch
(for then the top two separate clutches on the starboard side could have been a
"double"), is very functional. The lines that raise/lower the poles
first go through the clutch, and then are -- as backup -- attached to the cleat
immediately below. When it is time to raise a pole, the line is removed
from the cleat and wrapped around the hand winch. The rope clutch is
then released and the pole is easily raised by using the winch. The pole
is raised until it is not quite vertical, but just far enough away so that the
FS does not break the surface and does not hit the hull. Barb and I
carefully lift the FS over the cap rail and set it temporarily on the side deck
and then the pole is raised the rest of the way and secured in the chock.
The FS is lowered by essentially reversing the process, using the winch to ease
the lowering of the pole to the correct height and then locking that position
with the rope clutch.
Note that there is not a block at the end of the pole; the line from pole to FS
is a fixed 12 feet. There is no additional line from the FS to the vessel;
the pole is raised until the line can be easily fetched with a short boat hook
and then can be brought to the edge of the hull so that the FS can be lifted out
of the water by hand. Your mileage may vary. We know of other
installations in which a block is employed at the end of the pole so that the FS
can be raised/lowered up/down from the end of the pole. And we know
that some folks attach a separate line that runs from the FS to the vessel so
that the FS can be pulled in to the side for lifting aboard. So far we
have seen no need for either complication.
|
|

|
|
Upper clutches: for flopper-stopper lines; bottom clutch: for line that lifts the boom end
|
|
|
|
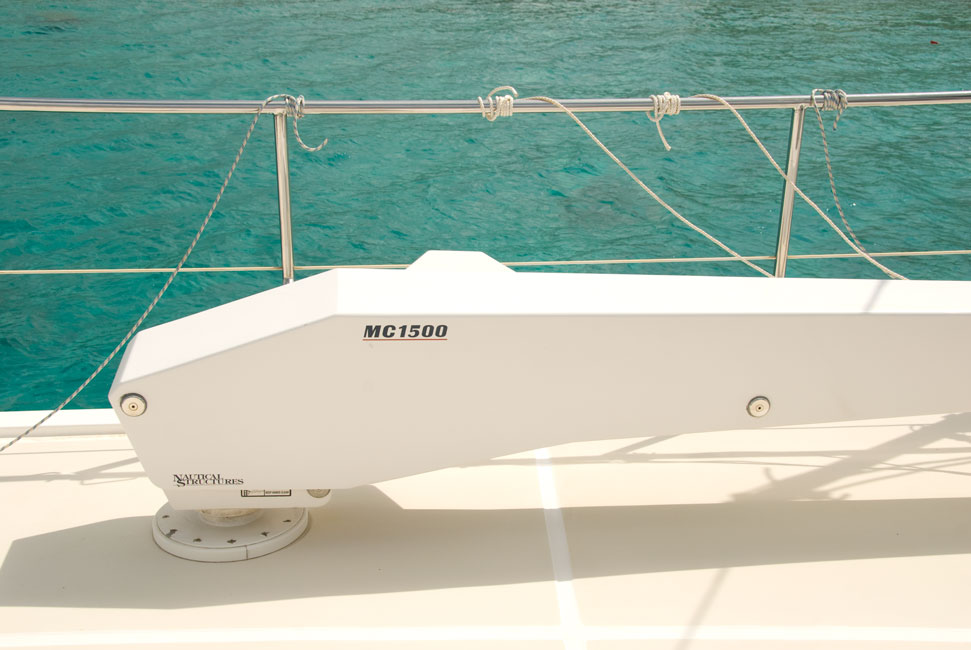
Davit for lifting dinghy to deck
|
|
|
|
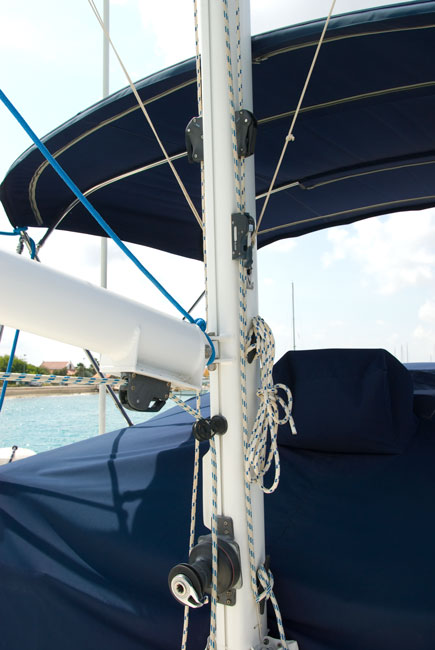
Overview of all hardware installed at base of mast
|
|
|
|
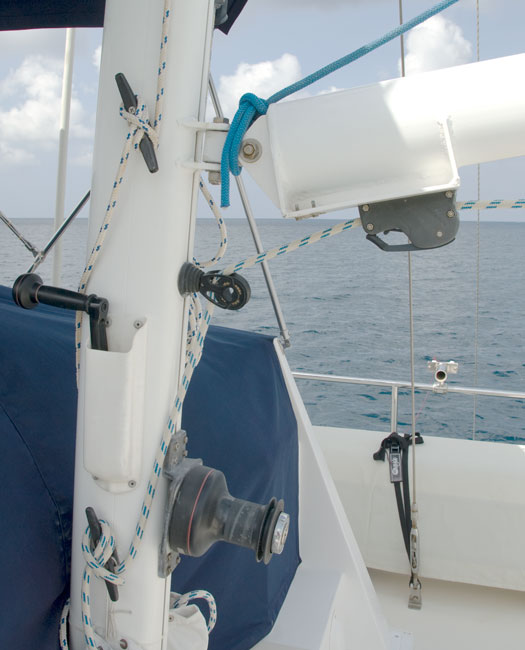
Hardware installed to serve as backup to the davit
|
|
|
Return to Home Page